 Sign in with Steam
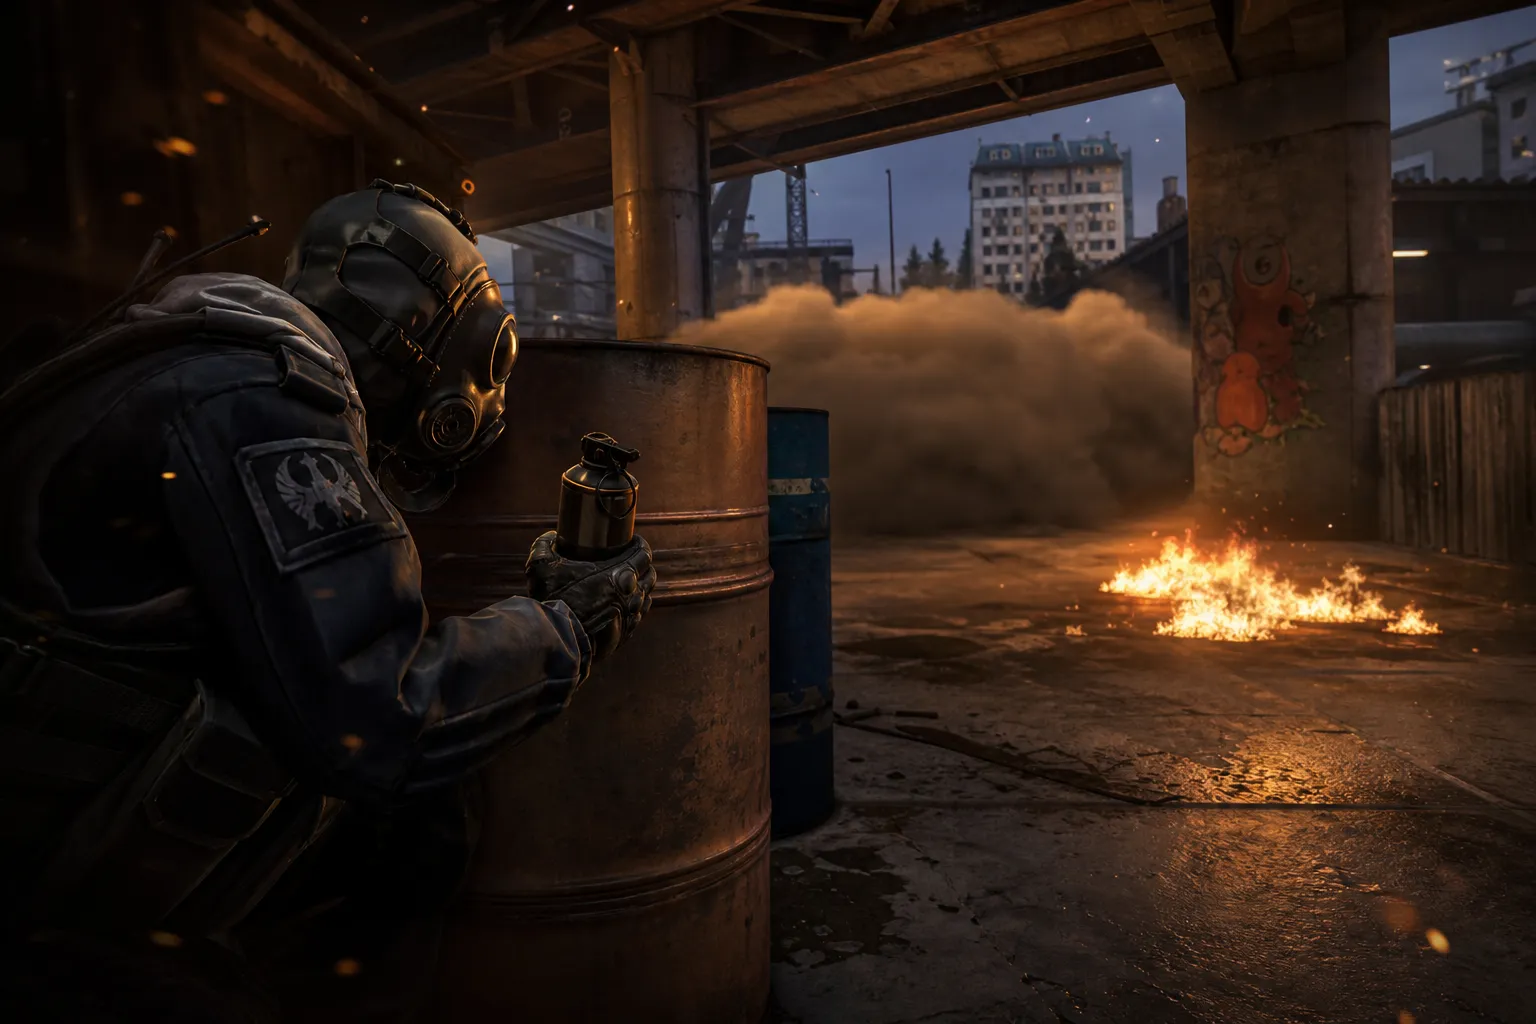
Ask any decent Overpass player what makes B Long miserable to take, and you’ll hear the same thing: it’s not the duel, it’s the utility tax. One smoke, one flash, one molly, maybe a late HE, and suddenly your whole T side has spent half its round budget just to get a foot on the ground near barrels. Pro teams don’t beat that by throwing more nades. They beat it by spending less, better.
That’s the whole trick on CS2 Overpass. On Source 2, with subtick making timing feel a little more honest but still brutally punishing, the best teams don’t “hold B Long” by walling off the map every round. They build a setup that makes the T side waste utility first, then they keep enough in the pocket to actually fight the retake or the exec. B Long is a bank account, and bad CTs go broke by round 4.
Why B Long burns through utility so fast
B Long looks simple until you actually try to hold it. The long lane from T start to the sandbags/monster pressure point gives attackers a ton of angles to work with: they can flash over, smoke deep, pop out from bathrooms timing, or just fake the whole thing and pull rotators. If you’re the CT anchoring it, every extra piece of utility feels like a tax on the rest of the defense.
The obvious bad habit is throwing a molly early at Long, then re-smoking Monster, then flashing yourself out of graffiti, and suddenly you’ve got nothing left when the real hit comes. That’s not “discipline.” That’s donating grenades. Against good teams — the kind you see in BLAST Premier or at the Major — that’s exactly what they want. They’ll burn your kit, cancel your info, and then hit B with 30 seconds left and a full execute while you’re holding a Desert Eagle and regret.
The map geometry does the damage for them
Overpass rewards spacing, and B Long is a cruel little funnel. CTs are defending a lane that can be pressured from Long, Monster, connector timing, and short trades if the T side is coordinated enough. You don’t need six grenades to stop that. You need the right two or three at the right moment — and a willingness to not panic when the first contact doesn’t come.
The pro approach: pressure first, smoke second
Watch a top team hold this area and you’ll notice they almost never start with the same script. They’re not opening the round by instantly smoking Monster and praying. They’re trying to force the T side to reveal their hand before the expensive stuff comes out.
The best B anchors on Overpass do a few very boring, very smart things:
- They show presence early, then fall back.
- They use a single flash to peek for info instead of a full combo.
- They keep a late molly for the plant box or close corner.
- They save one smoke for the execute, not the warm-up.
That sounds basic because it is. The difference is that pros actually stick to it. Think of how teams around the s1mple/ZywOo era learned to play contact after utility-heavy defaults — patience stopped being passive. It became a way to make the enemy waste the only thing that really matters in round 7: options.
In CS2, where subtick makes your spam timings and jiggle peaks feel a bit more consistent than the old “was he on my screen or not?” days, that patience matters even more. If you’re throwing nades just because you’re nervous, you’re giving the T side free info and free timing. Not great.
What a low-utility hold actually looks like
The cleanest Overpass B Long holds aren’t flashy. They’re ugly in the best way. You’ll see one player on short side, another tucked near barrels or fountain, and maybe a third rotating through connector or heaven depending on the round. The whole point is to look annoying, not committed.
A common shape:
- First contact player: holds an angle, doesn’t overpeek.
- Support player: keeps a flash or smoke for the mid-round swing.
- Rotator: stays quiet until the T side shows real commitment.
That setup lets you react without spending every piece of utility on round start. A smoke at Monster can buy time, sure, but if you’ve already used two flashes and a molly to stop a fake exec from T water, what’s left when the actual B hit comes? Usually not much. Good teams want to keep at least one hard stop — smoke or molly — for the moment the bomb is crossing.
And no, you don’t need to be scared of giving up a little space. Sometimes the best hold is just making the Ts think you’re weak while you’re actually sitting on four pieces of utility and a crossfire. The whole point is to let them spend the 300 on a smoke, the 200 on a flash, the 600 on a molly, and then make them fight dry anyway.
The little utility tricks that save rounds
This is where the money talk matters. In CS2, a full buy with rifle, armor, and kit still leaves you short if you’re wasting nades every round. CTs starting round 3 with a light buy economy can’t afford to be sloppy; even when you’re on a proper full buy at $4100+ in hand, throwing away a $300 smoke like it’s pocket change is just bad math.
Pro teams squeeze value by using utility in a way that creates the same result with less overhead. A few examples that show up all the time on Overpass:
- One flash over Long instead of a double flash setup.
- A late smoke on Monster as the Ts commit, not at 1:45.
- A molly for close B Long only if you’ve confirmed pressure.
- Playing off sound cues from water and connector instead of forcing info peeks.
That last one matters more than people think. CS2 audio isn’t a cheat code, but it’s enough to tell you whether the T side has slowed down, dropped utility, or split resources. Pros don’t just stare at their radar and guess. They listen, they count, and they save grenades for the second wave. That’s the difference between a hold that survives 20 seconds and a hold that survives the entire execute.
Don’t waste the “panic nade”
Everyone knows the panic nade. You hear a step, you toss a molly. You see a shoulder, you pop a flash. You feel pressure, so you smoke the same gap you could’ve held with a rifle. That habit gets punished hard on Overpass because the map gives the attackers enough room to stall and reset. Burn your utility early and they’ll just wait you out.
Good teams use nades like a timer, not a reflex.
How the best teams make the T side spend first
If you watch how teams like FaZe, Vitality, or even the more structured CIS squads approach Overpass, there’s a common thread: they make the T side prove it before committing CT utility. They’ll show one body, maybe take a space-denial angle, then disappear. The T side reacts. Now the CTs know where the real threat is, and now they can spend.
That order matters. Spend first, lose second, win the round. If you reverse it, you’re usually dead by the time the bomb reaches site.
Take a B Long setup where the anchor uses no nade until the Ts fire their first smoke. That alone can save a molly, a flash, and sometimes the round. The anchor calls for a teammate to keep connector or heaven honest, and only then does the CT side use the expensive stuff. If the Ts fumble the exec or try to re-hit after burning their own kit, the CT side still has enough left to fight back. If you’ve already dumped everything on the first cue, you’re basically crossing your fingers and praying for donk-level aim from a rifle hold. Bold strategy. Usually awful.
Stop holding B Long like you’re allergic to patience
The biggest mistake I see in matchmaking and even in decent Premier lobbies is CTs trying to “win” B Long every round instead of simply containing it. You don’t need a highlight clip. You need control. A clean, low-utility hold gives you that control without handing the T side free timing or a dry retake.
So yeah, use your nades — just not like you’re trying to empty the inventory by round 2. On Overpass, the teams that keep one smoke, one molly, and a cool head end up making the Ts spend twice as much just to get the same result. That’s the whole edge. Why donate utility when you can make the other side pay for the privilege of walking into B?